How to temper chocolate like a pro
0
Comments (16)
My love affair with chocolate comes from many things: The smell of rich cocoa that fills your nostrils upon opening a box of chocolate; the numerous shapes and sizes and the way the light reflects off their glossy angles; the fillings that lurk within certain chocolates, waiting to be discovered; the snap when you bite into it, sending a shockwave throughout your mouth that signifies that the rush of chocolate flavor has been unleashed to your senses. This telltale snap is like a magician quickly withdrawing a velvet cloak, exposing the magic below.
Fascinated by this experience, long ago I set out to make my own chocolate chocolate bonbons with good quality store bought baking chocolate. I’d melt the chocolate and use it to coat some fillings and everything would be great. I could pack them up for Mom and she would be astounded when she learned that I had done this all myself.
There was only one little problem though.
There was only one little problem though.
Once I had given a full day for good measure, to give the chocolate a chance to solidify around the fillings, I grabbed a bonbon to survey it. Surprisingly, they weren’t as glossy as the ones I was trying to replicate from the professional chocolatier. They had more of a flat, blemished appearance with a mysterious white powder that I don’t remember dusting them with. Then I took a bite. Astounded would be the proper word to describe what I was feeling, but not in the way I had hoped. There was no snap and the chocolate crumbled and gave way like a landslide, filling my mouth with chocolate dust that turned from a sandy consistency, into a strange gum before finally melting away. The lack of the snap was like the magician was tripping and falling flat on his face before even getting up to the stage to do the trick.
What happened?
It turns out that in the chocolate world, there is a difference between solidifying the right way and solidifying the wrong way.
Find Chocolate recipes on Veganbaking.net
Find Chocolate recipes on Veganbaking.net
We Live in a Crystallized World
Most of the solid things you see around you are actually made up of crystalline structures on the molecular level. Metal, ceramics, glass, ice, concrete and solid fats are just some of the materials that started out in liquid forms and have solidified into a crystalline structure, where molecules are able to pack tightly together enough to the point of where they are bonded together into large, dense, continuous masses.
Learn more about fat and oil melt point temperatures.
Learn more about fat and oil melt point temperatures.
Chocolate Polymorphism
When molten materials such as chocolate begin to cool, crystals called seed crystals form and start to grow throughout the material, until solidification is complete. There are different ways these crystalline structures can form and grow depending on several factors, such as the material that’s solidifying, what other materials are mixed in and the temperature of the material. The ability of a solid material to exist in more than one solid form is known as polymorphism. Poly, meaning many and morph, meaning shapes. Carbon is a perfect example of a material that is affected by polymorphism. Crystallized loosely, it becomes graphite that makes the writing end of a pencil. When the carbon molecules are packed tightly together, the same material becomes a diamond.

Cocoa Butter Crystal Forms
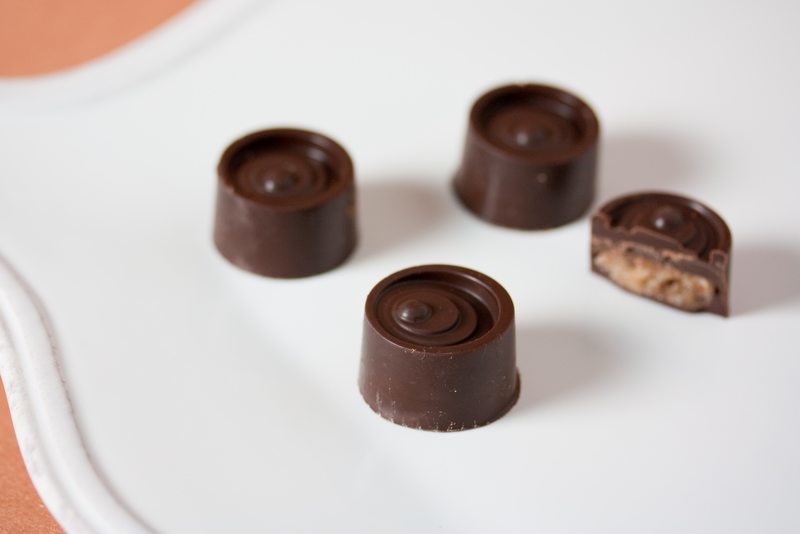
Cocoa butter molecules can be thought of as lego pieces. When you dump them in a pile, you get a loose mass without any structure. If you assemble the pieces together carefully, you get a strong solid mass. There are six known types of cocoa butter polymorphs, or crystal forms as the table below illustrates.
| Cocoa Butter Crystal Forms | Melting Point | Stable | Comments |
|---|---|---|---|
| Form I | 64F (18C) | No | Produced by rapid cooling. |
| Form II | 72F (22C) | No | Produced by rapid cooling of 2C/min. |
| Form III | 79F (26C) | No | Produced at 5-10C. Eventually converts into Form II at that temperature. |
| Form IV | 84F (29C) | No | Produced at 16-21C. Eventually converts into Form III at that temperature. |
| Form V | 94F (34C) | Yes | Produced by slow crystallization after tempering. Produces high quality chocolate with gloss and snap. |
| Form VI | 97F (36C) | Yes | Form V converts into this form after several months at room temperature. Chocoalte bloom happens here. |
Melted chocolate, when left to its own devices will crystallize into a jagged mess of loose crystals with a large portion being Form V and smaller proportions of Forms I through IV. This is the chocolate I originally made for Mom that lacked the sheen and snap of professionally made chocolate. Since this chocolate consists of many crystal forms, these crystals can actually shift form over time and increasingly end up as lower forms of jagged crystals such as Form I. This chocolate can also show pure, white cocoa butter the precipitates from the chocolate in tiny dust like particles known as bloom.
The goal of tempering is to promote chocolate to solidify with Form V crystals as much as possible. Every crystal form contains a small amount of all other types of crystals but by encouraging Form V crystals via temperature and time, we can end up with a majority of Form V that will give our chocolate a glossy sheen, a snap when bitten into and a stability where it will last this way on the shelf a while.
Tempering Dark Chocolate
To temper chocolate, we need to first press the reset button on all of the existing crystal forms contained within it so we end up with a clean slate. We do this by heating the chocolate in the microwave or in a double boiler, also known as a bain marie, to a temperature of 122F (50C) (105F or 40C with white or milk chocolate) so it is completely melted. I recommend a double boiler due to its consistent temperature distribution and ease of use that will prevent your chocolate from being overheated. Overheated chocolate loses its flavor profile and increases in bitterness as it starts to burn.
Now we cool the chocolate to 81F (27C) (4F lower with white or milk chocolate) while whisking it periodically to initiate both stable and unstable crystal forms, especially Forms I, II and III. The chocolate is left here for a couple minutes so the crystal forms can seed or get established. This time is referred to residence time.
The chocolate is now heated to 90F (32C) (4F lower with white or milk chocolate) while whisking it periodically to melt off the unstable crystal forms such as I, II, III and to some extent, IV, leaving mainly Form V crystals. The chocolate is left here for another residence time of a couple minutes to ensure the unstable forms have melted.
The chocolate is now used for its intended purpose and left out to solidify at room temperature to ensure proper Form V crystal growth as it cools. Placing the chocolate in a refrigerator or freezer at this point would encourage the unstable crystal forms to grow.
In summary, tempering accomplishes the following:
1)
Melt out all of the existing fat crystals.
2)
Cool the chocolate so that both unstable and stable crystals form.
3)
Warm the chocolate to melt out the undesirable unstable crystals, leaving the desired crystals intact to seed the chocolate.
4)
Maintain the chocolate at the proper temperature while using so the desired crystals are available to solidify the chocolate when it cools.

Chocolate Tempering Techniques
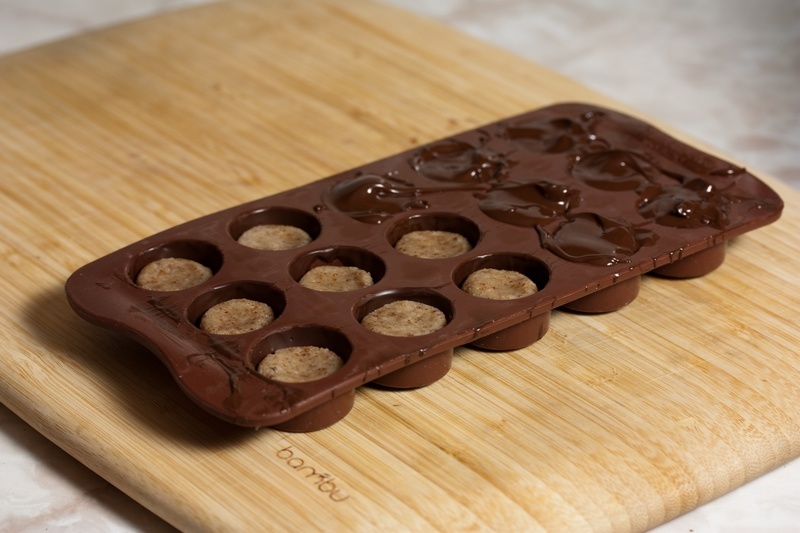
So now that we have the main theory down, it’s time to look into the three main ways to temper chocolate. The great thing about chocolate tempering is that if you make a mistake, you can just start over again and press the reset button by going back to the first step and reheating the chocolate again.
I recommend that for all of these techniques you have an instant read thermometer and a double boiler with water heated to around 200F. This will come in handy if you need to quickly bring your chocolate up to a higher temperature; just place the bowl on the double boiler and whisk it for a few seconds before removing the bowl and taking a temperature reading. Is the chocolate slightly too hot? Simply take the bowl off the counter and transfer it to the refrigerator for a few minutes, whisking occasionally.
Friends don’t let friends do chocolate work with chocolate chips. You’re already going the extra mile by working with chocolate in the first place. No matter how well you temper and how exquisite your design, if you use chocolate chips, it’s still going to taste like chocolate chips. Use real baking chocolate.
The Double Boiler Chocolate Tempering Technique
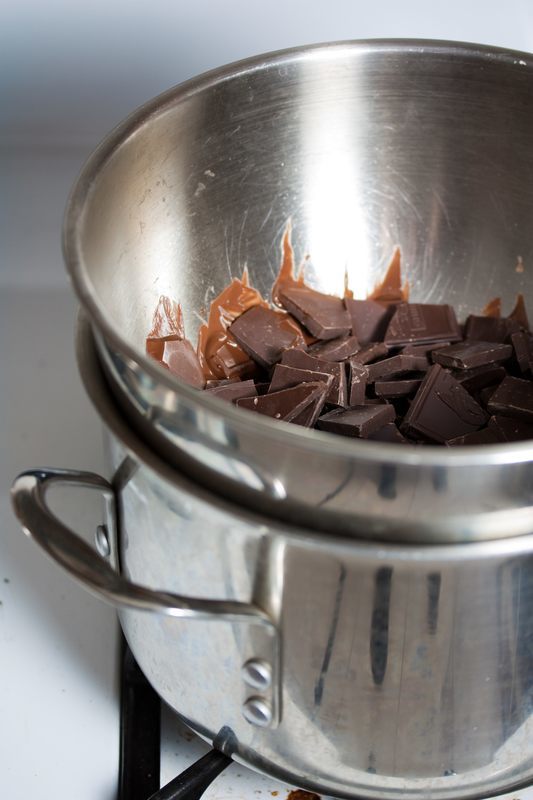
This is my preferred tempering technique because for someone who doesn’t work with chocolate too often, it’s easy to pick up and run through without making major errors. It utilizes a double boiler. I make my own by placing a stainless steel mixing bowl over a saucepan filled with water. Make sure the water doesn’t touch the bottom of the bowl. The benefit is that the chocolate can be easily heated when the bowl is on the double boiler and cooled by taking the bowl off and placing it in the refrigerator.
1)
Using a serrated knife, chop your chocolate into roughly ½ inch pieces.
2)
Fill a 2 ½ to 4 quart saucepan with water and heat to about 200F (93C). Place a 4 quart stainless steel mixing bowl over the saucepan so it sits partially inside. Make sure that the water doesn’t contact the mixing bowl.
3)
Place the chocolate in the mixing bowl and heat it to 122F (50C) (105F or 40C with white or milk chocolate), whisking occasionally so it’s completely melted.
4)
Remove the mixing bowl from the double boiler and transfer it to the refrigerator. Allow it to cool, whisking and measuring occasionally, until the temperature drops to 81F (27C) (4F lower with white or milk chocolate).
5)
Transfer the bowl from the refrigerator to the saucepan and whisk and measure frequently until the chocolate has risen to 90F (32C) (4F lower with white or milk chocolate). Maintain your chocolate at this temperature for a couple minutes while whisking occasionally before using.
The Seeding Chocolate Tempering Technique
This technique is best for people who work with chocolate professionally or frequently. It utilizes chocolate pieces to seed the Form V crystals into the chocolate. Provided you have chocolate pieces that are confirmed to be Form V crystallized pieces, it can go very fast. Many chocolatiers simply take a small batch of confirmed good Form V chocolate from a previous batch and use it to seed future batches, not unlike how bread bakers frequently use bread starters from previous batches. The Seeding Technique also works really well for large batches.
1)
Using a serrated knife, chop your chocolate into roughly ½ inch pieces.
2)
Place the chocolate in the bowl and heat it either in a microwave or a double boiler to 122F (50C) (105F or 40C with white or milk chocolate), whisking occasionally so its completely melted.
3)
Whisk in pieces of tempered chocolate a little at a time until the temperature reaches 90F (32C) (4F lower with white or milk chocolate). It’s not necessary to bring the temperature down and back up again like the other techniques call for; the small pieces are all that’s needed to seed the Form V crystals. Maintain the temperature for a couple minutes while whisking occasionally before using.
The Tabling Chocolate Tempering Technique
This technique requires a marble slab to absorb the heat of the chocolate during cooling and the experience of using a scraper and palette knife to work the chocolate. The benefit is that once you have this method down it can be very fast.
1)
Using a serrated knife, chop your chocolate into roughly ½ inch pieces.
2)
Place the chocolate in a bowl and heat it either in a microwave or a double boiler to 122F (50C) (105F or 40C with white or milk chocolate), whisking occasionally so it’s completely melted.
3)
Transfer about half of the melted chocolate to a marble slab and work it with a scraper and palette knife until it has thickened slightly. Don’t let any of the chocolate solidify completely. The thickening cools the chocolate so that both stable and unstable crystals form.
4)
Transfer the chocolate from the marble slab back to the bowl of chocolate and mix it back in so the unstable crystals are melted out.
5)
Reheat your chocolate to 90F (32C) (4F lower with white or milk chocolate) and maintain it there for a couple minutes while whisking occasionally before using.


